This is a copy of my blog post originally posted here to keep all things in one place.
Dianoga grew over time. There were added different image formats, different strategies, logging, additional settings like path exclusion, etc. And all these things are configurable. You can turn them on and off and achieve the behavior that you want. In 2022, there are 15 configuration files. I decided to add new file format support, but the number of different configurations scared me. How to test all of them and be sure that everything works? How quickly reproduce the reported issue?
The answer is automated testing. One of the most valuable things in covering your code with tests is that you are not afraid to change it.Dianoga has already some unit test coverage.
But as Dianoga modifies Sitecore behavior, even 100% unit tests code coverage doesn’t guarantee that everything every time will work. It could be checked with integration tests. Integration tests require running Sitecore. We don’t want to have an infrastructure for it. Fortunately, we can easily run Sitecore in Docker containers. The only one thing is required: quick and easy ability to add Dianoga module to your Sitecore container. And that was the one of reasons for the creation of Dianoga Asset Image.
How does it work:
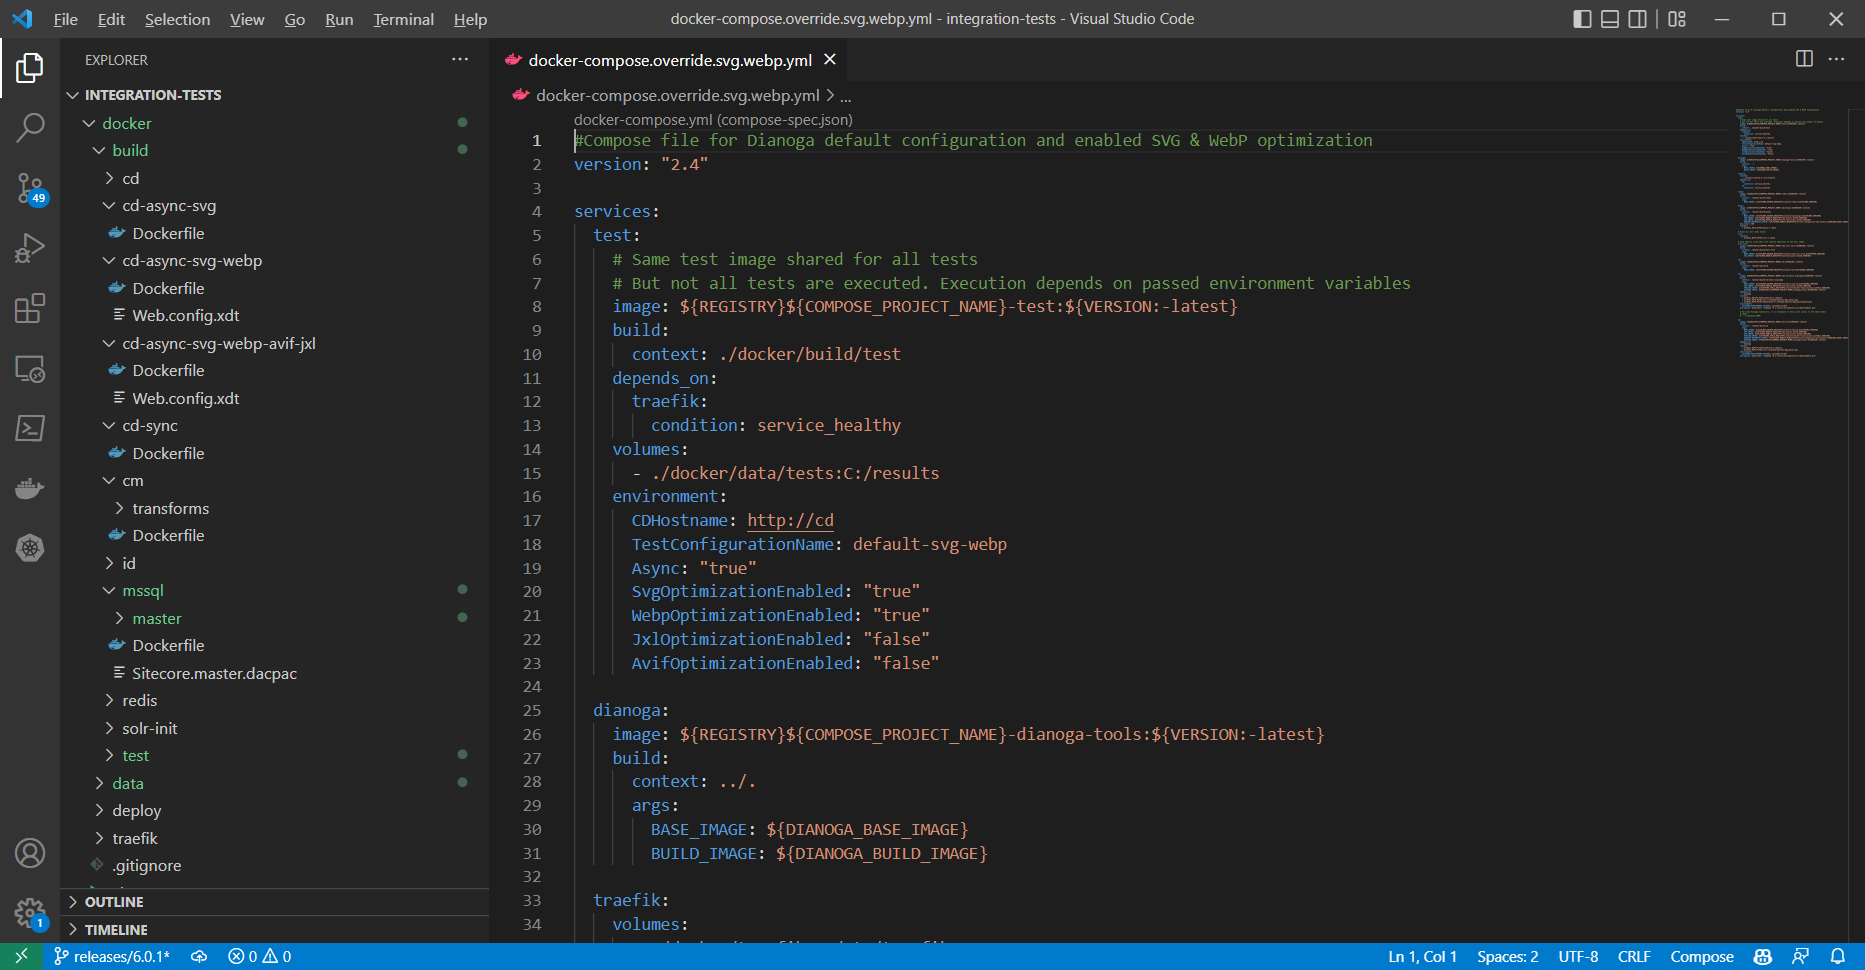
- Integration tests are located in the integration-tests folder of Dianoga sources.
- We have different
docker-composeconfigurations: for sync mode, for async mode, with enabled SVG, with enabled SVG and WebP, with enabled SVG/WebP/avif/jpegxl.
- You can easily add a new configuration if you need to run a specific test to reproduce some issue
- We have a few test pages with a number of images on them.
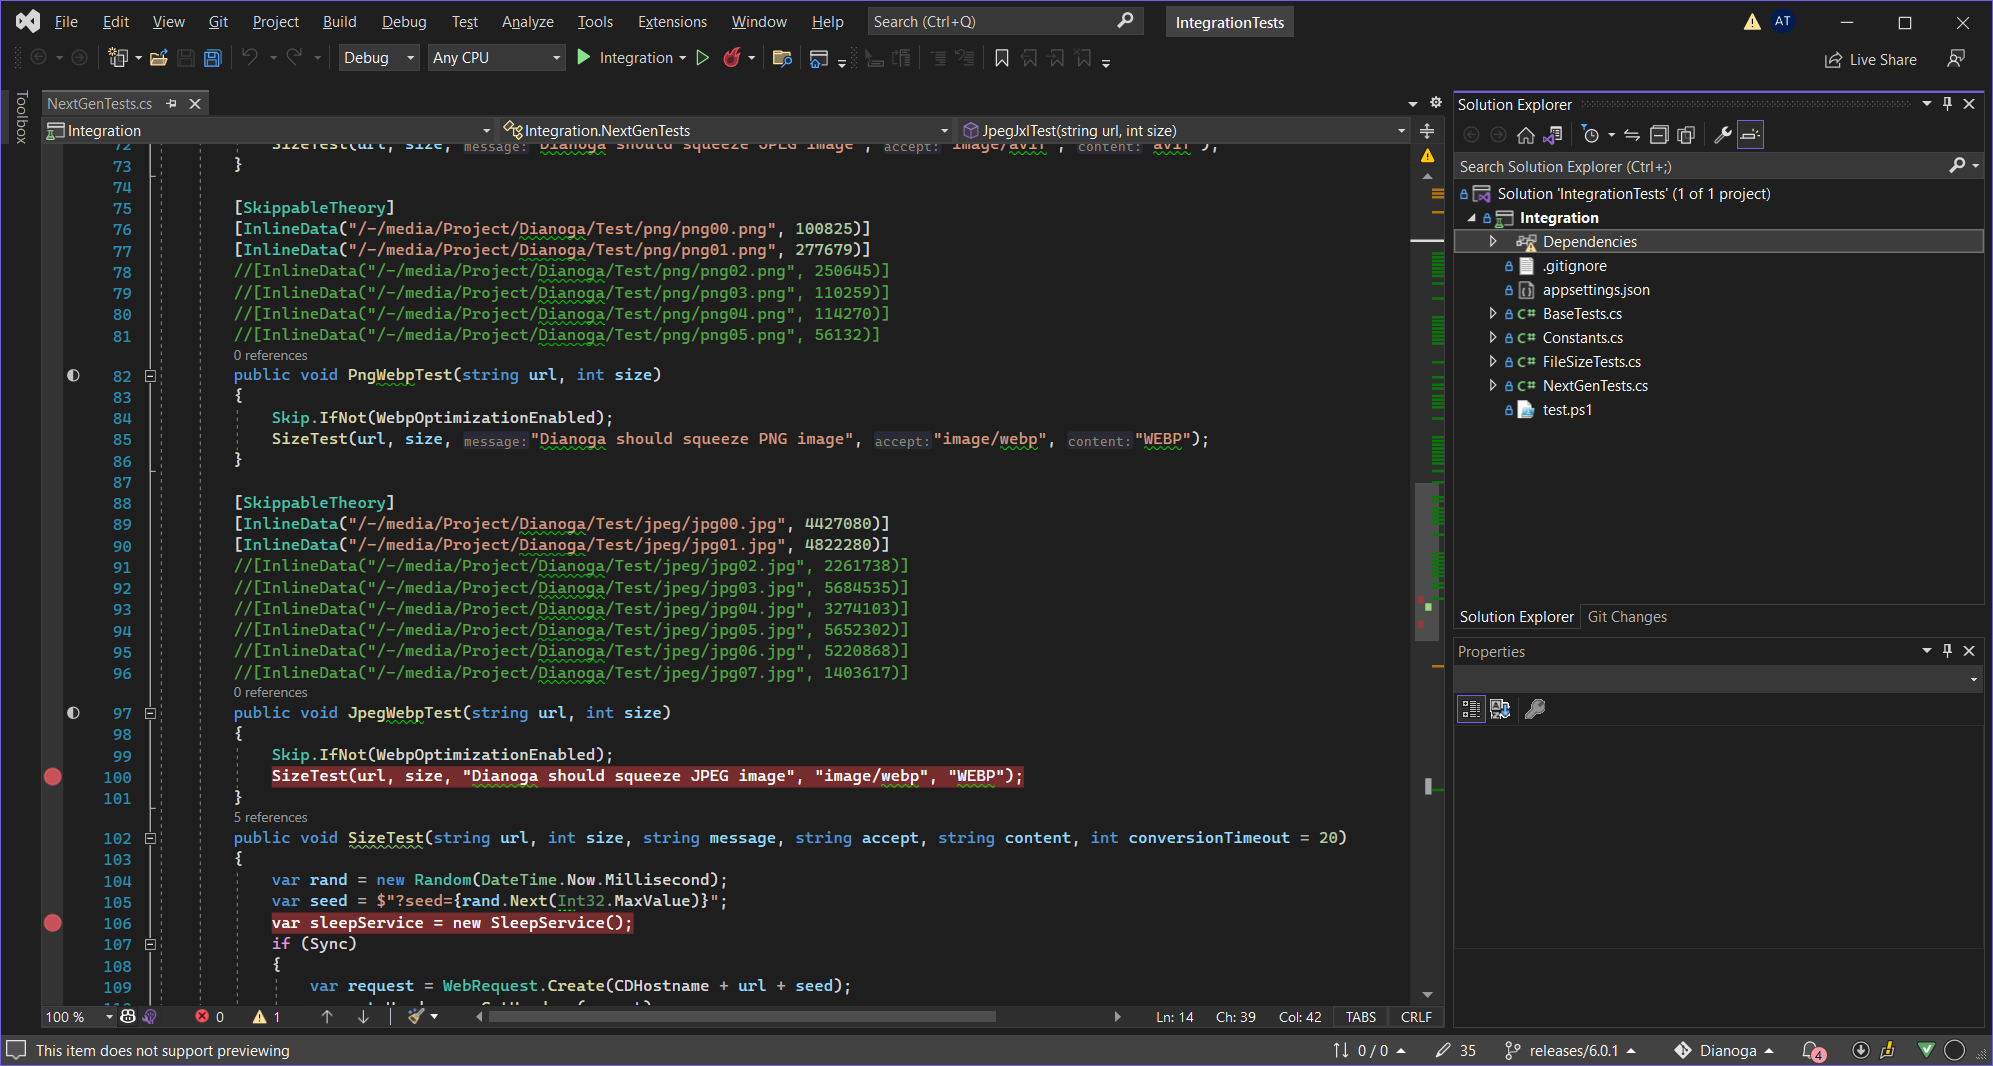
- We have
testcontainer. It runs .net core tests project. This project makes requests to Sitecore containers and verifies that Dianoga module squeezes images as expected.
- We have Powershell script
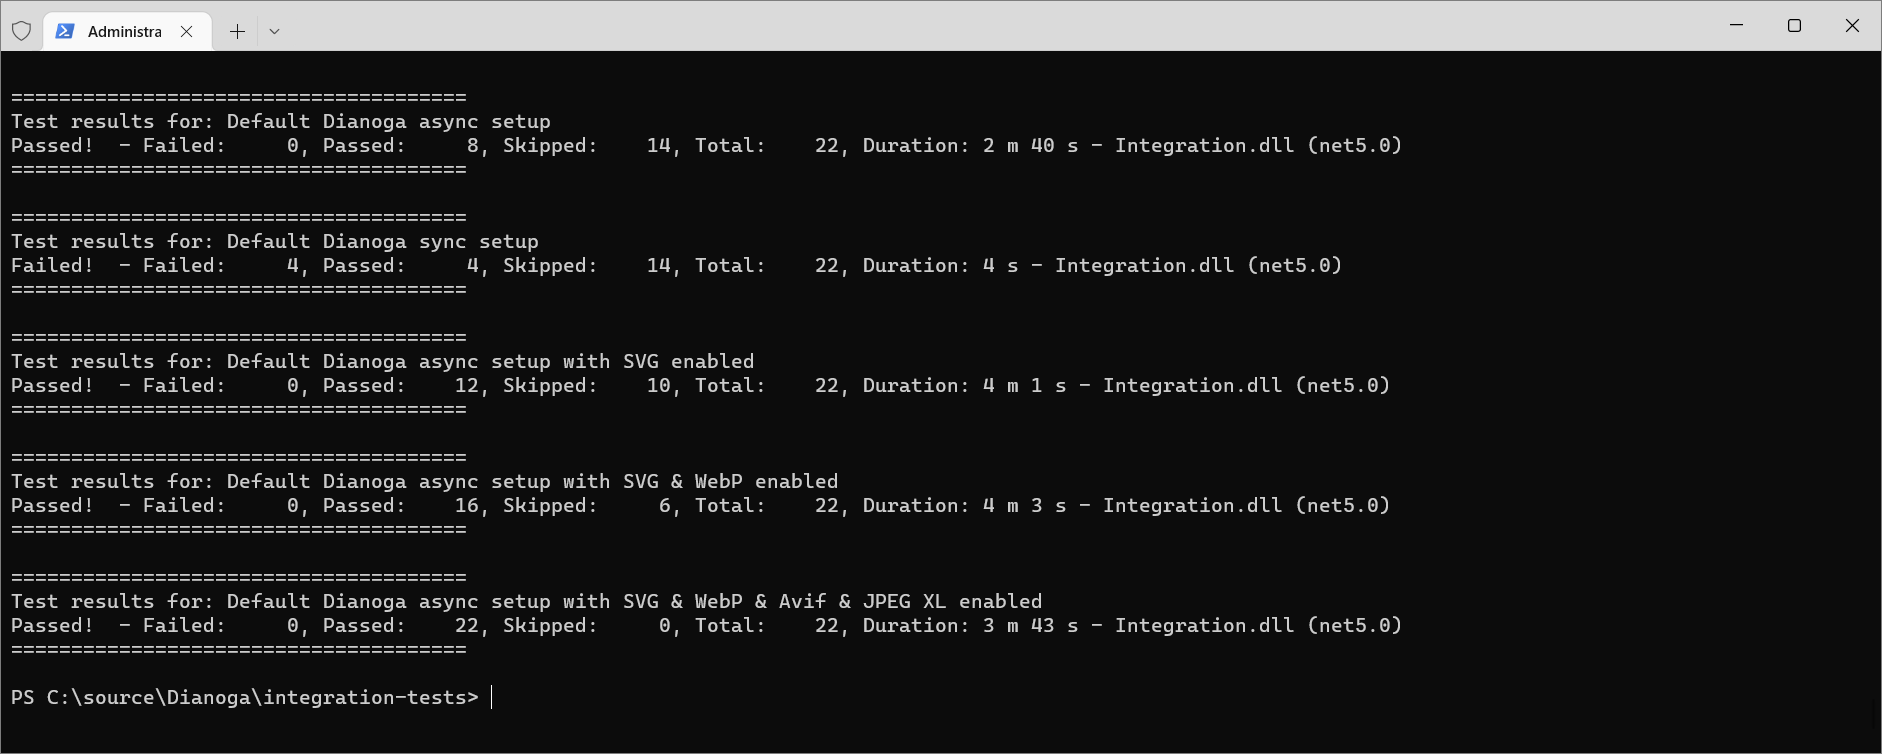
run-tests.ps1that runs Docker configurations one by one and gather test results. - All test results are saved to
integration-tests\docker\data\testsfolder
Sample results output
Conclusion
Running all these tests takes some time. But it saves a huge amount of time when you made some changes in your code and you want to make sure that all configurations still work as expected! Also, it become much easier to troubleshoot reported issues. You are able to set up a new Docker configuration and run a test to reproduce the issue. And as a bonus, you get examples, of how to configure Dianoga with different image formats and different strategies for your containerized environment.
No comments:
Post a Comment