This is a copy of my blog post originally posted here to keep all things in one place.
How often do you push broken Sitecore serialization with your commits? If the answer is "never" then I envy you, you are a very neat developer! Then how often does someone in your team push broken serialization? I don’t believe that on second question answer will be "never". Depending on the size of the project and the intensity of work, it will definitely happen from time to time. Let’s figure out how to prevent it.
Git has the ability to add hooks. Hooks are programs you can place in a hooks directory to trigger actions at certain points in git’s execution. There are many of points, where we are able to include our programs(scripts): applypatch-msg, pre-applypatch, post-applypatch, pre-commit, pre-merge-commit, prepare-commit-msg, commit-msg, post-commit, pre-rebase, post-checkout, post-merge, pre-push, pre-receive, update, proc-receive, post-receive, post-update, reference-transaction, push-to-checkout, pre-auto-gc, post-rewrite, sendemail-validate, fsmonitor-watchman, p4-changelist, p4-prepare-changelist, p4-post-changelist, p4-pre-submit, post-index-change. Seeing this big list of hooks you may understand, that it is possible to add your custom logic only everywhere in the Git execution process. It is like events or pipelines in Sitecore: places, where you can extend existing logic according to your needs. Despite of big list of hooks, they are not too popular. The major part of projects will have either no Git hooks, or you may have hooks that run linters or force you to follow a certain commit message format.
Recent Sitecore versions provide powerful Sitecore CLI. This CLI includes work with serialization. And we are interested in the validation of serialization. Now, in order to check if Sitecore serialization saved on disk is valid, you don’t even need Sitecore runtime. You can do it by running one command dotnet sitecore ser validate. Let’s add it to Git pre-commit hook to avoid our team members pushing broken serialization to git.
- You need to download this Gist.
#!/bin/sh
# Pre-commit Git hook
# It runs Sitecore CLI Serialization check
# And doesn't allow to perform commit if serialization is broken
validate=$(dotnet sitecore ser validate)
regex_errors="Errors were detected"
count=$(echo "${validate}" | grep -c "${regex_errors}")
if test $count -gt 0
then
	echo "Sitecore serialization errors were detected"
	echo "Please run 'dotnet sitecore ser validate'"
	echo "And fix all errors before commit"
	exit 1
else
	exit 0
fi- Then you need to put it into
.git\hooksdirectory with namepre-commit - Now, before making a new commit, serialization validation will be executed. And if something is wrong with serialization, you will not be able to make a commit. You will get an error message:
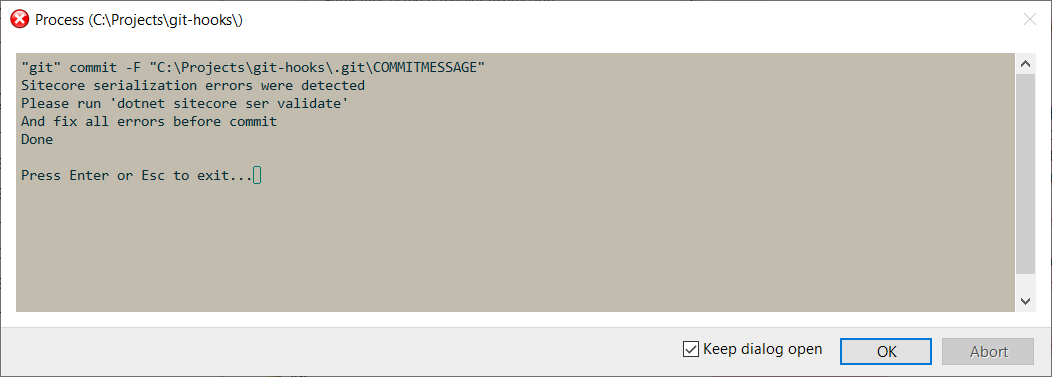
After fixing serialization issues, you should be able to move forward. And now you may be confident that no one in your team will be able to push broken serialization and block someone else’s work.
Git hook will be a good option until you don’t have a huge amount of serialized items. It will work fine until running dotnet sitecore ser validate is fast. But if it will start to take more than a few seconds it may start to annoy developers. What you can do in that case? You will need to incorporate validation into your CI pipelines. You may run it on each pull request to make sure that no one will be able to merge broken serialization to the main branch.